Have you seen Matilda? I have, but had completely forgotten about this cake until someone (cheers, Lisa) said my creation looked like a Matilda cake. Honestly, I had to google it!
A few of the ingredients confused me, but I figured the worst that could happen is I’d waste a few ingredients and a little time. And to be fair, as long as it had cooked through I’ve have eaten it anyway so there was never a chance the ingredients would be wasted unless it turned out really really bad… hmm.
My confusion was over soooo much water being added, and adding baking powder and baking soda to the recipe. I’ve used the two individually, but never in the same cake.
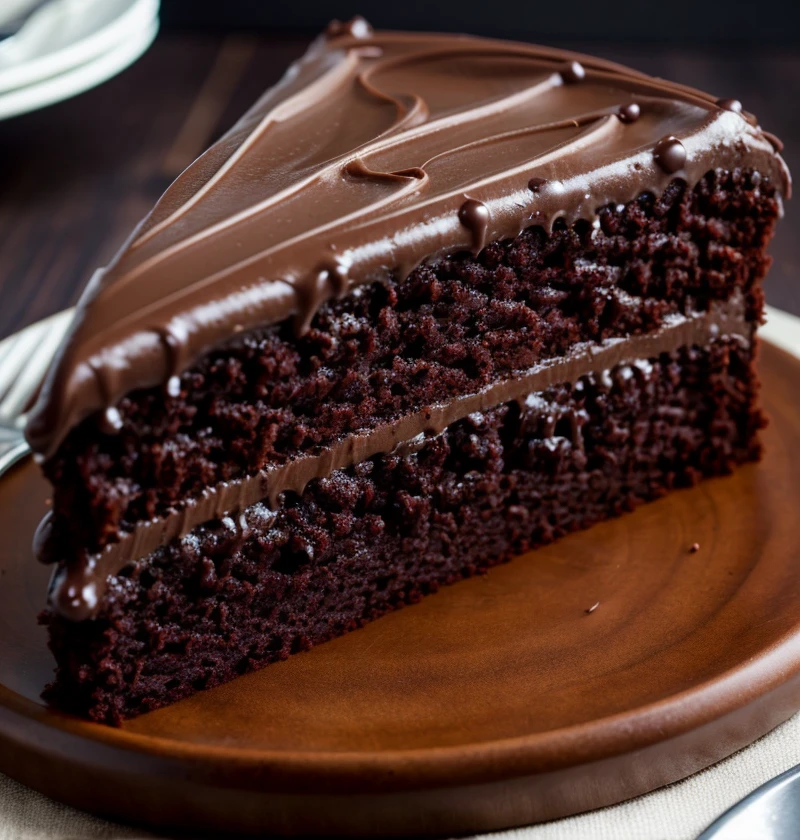
So, ChatGPT gave a recipe, and I used Stable Diffusion to create an image for term “Chocolate cake with chocolate frosting”. This was just to give me something to work to. All it did was make me hungry.
So, question is… did the cake come out ok? Was I able to actually eat it? And if so, can I make it look as good as stable diffusion (ai) did? See for yourself…
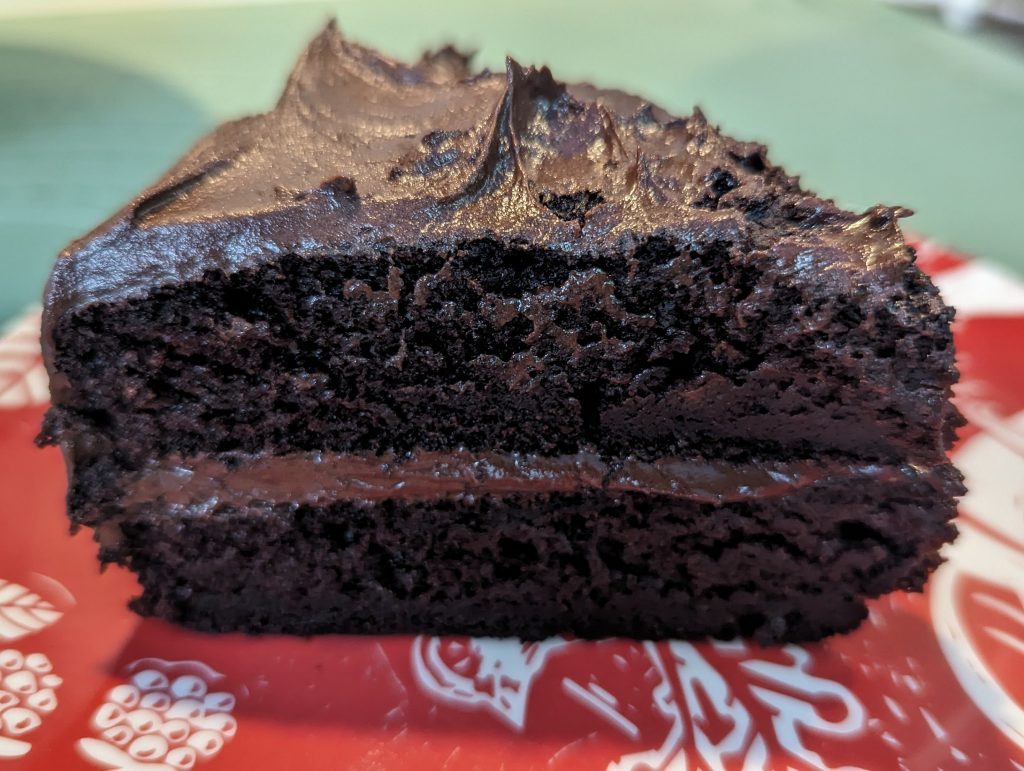
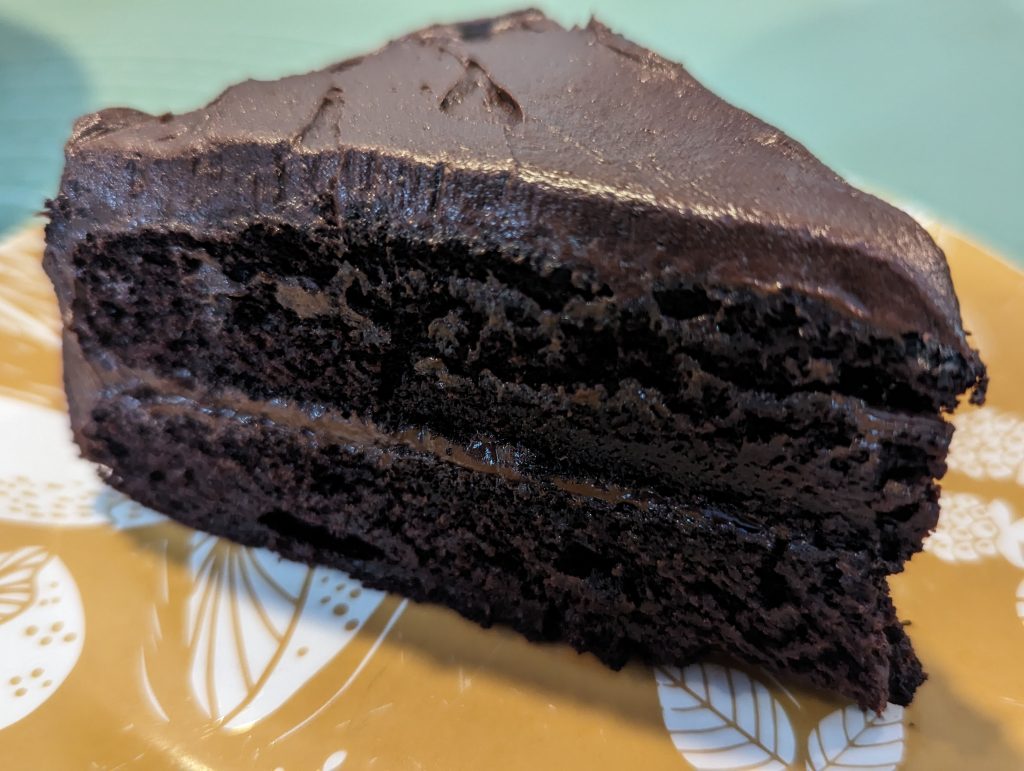
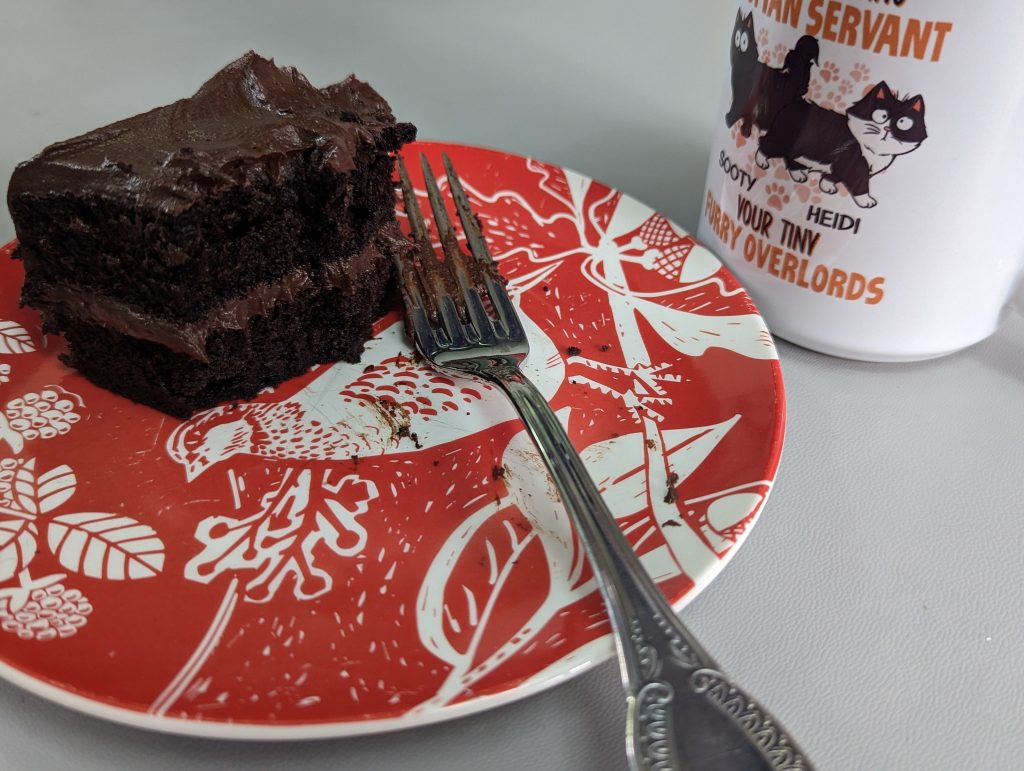
I’ll make a note at the relevant step if I felt I absolutely had to make any changes in order to “save” the recipe.
Search Term: **Simple Chocolate Cake Recipe (UK Measurements)**
*Preparation Time: 15 minutes*
*Baking Time: 30-35 minutes*
*Servings: 8-10*
**Ingredients:**
- – 225g plain flour
- – 300g granulated sugar (I used 200g, I did weigh out 300g and it was SO much my teeth started to ache just thinking about it!)
- – 75g cocoa powder
- – 1 and 1/2 teaspoons baking powder
- – 1 and 1/2 teaspoons baking soda
- – 1 teaspoon salt
- – 2 large eggs, at room temperature
- – 240ml milk, at room temperature
- – 120ml vegetable oil
- – 2 teaspoons pure vanilla extract
- – 240ml boiling water
**For Chocolate Frosting:**
- – 115g (1/2 cup) butter, softened
- – 70g cocoa powder
- – 375g powdered sugar
- – 80ml milk
- – 1 teaspoon pure vanilla extract
**Instructions:**
1. **Preheat the Oven:** Preheat your oven to 180°C (350°F). Grease and flour two 23cm (9-inch) round cake pans. GRR! Don’t pre-heat right away. You know your oven, if it only takes 5 minutes to pre-heat, do this a little later on. Besides, the mix is fine sat waiting for it to pre-heat at the end. No use wasting that energy! I used silicone cake trays, so just gave them a little spritz of oil, no need to flour. I also used 10 inch as that was what I had – The cake wold have been deeper had I used 9 inch as requested by the AI.
2. **Prepare Dry Ingredients:** In a large mixing bowl, add flour, sugar, cocoa powder, baking powder, baking soda, and salt until well combined. Use a sieve, not sure why it didn’t say this, but if you sieve it you won’t have to prod the ingredients as much as I did to get them to break up and mix properly.
3. **Mix Wet Ingredients:** Add eggs, milk, vegetable oil, and vanilla extract to the dry ingredients. Beat until the batter is smooth.
4. **Add Boiling Water:** Stir in boiling water to the batter until well combined. The batter will be thin, but that’s okay. It will result in a moist cake. This put me in panic mode, the mix was extremely watery! At this point, completely convinced the cake wouldn’t cook.
5. **Pour into Cake Pans:** Divide the batter evenly between the prepared cake pans.
6. **Bake:** Place the cake pans in the preheated oven and bake for 30 to 35 minutes, or until a toothpick inserted into the center comes out clean.
7. **Cool:** Allow the cakes to cool in the pans for 10 minutes, then remove them from the pans and transfer to wire racks to cool completely.
8. **Prepare Chocolate Frosting:** While the cakes are cooling, prepare the frosting. In a large mixing bowl, beat the softened butter until creamy. Sift the cocoa powder and powdered sugar in gradually, alternating with milk and vanilla extract, beating on low speed until well combined and smooth. I started sifting the ingredients in but was getting pelted with icing sugar. So opted to sift in the cocoa and tip in the icing sugar as it wasn’t particularly lumpy.
9. **Frost the Cake:** Once the cakes are completely cooled, place one layer on a serving plate. Spread a layer of frosting over the top of the cake. Place the second layer on top and frost the top and sides of the cake with the remaining frosting.
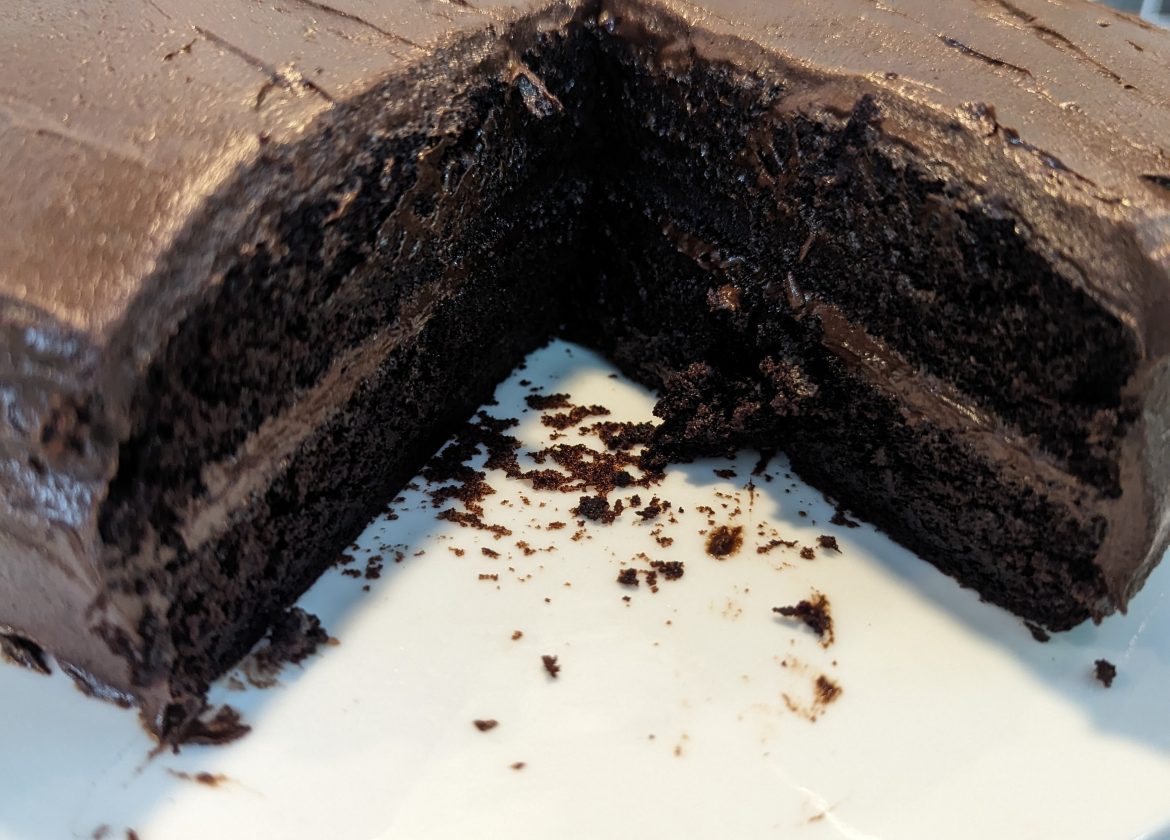
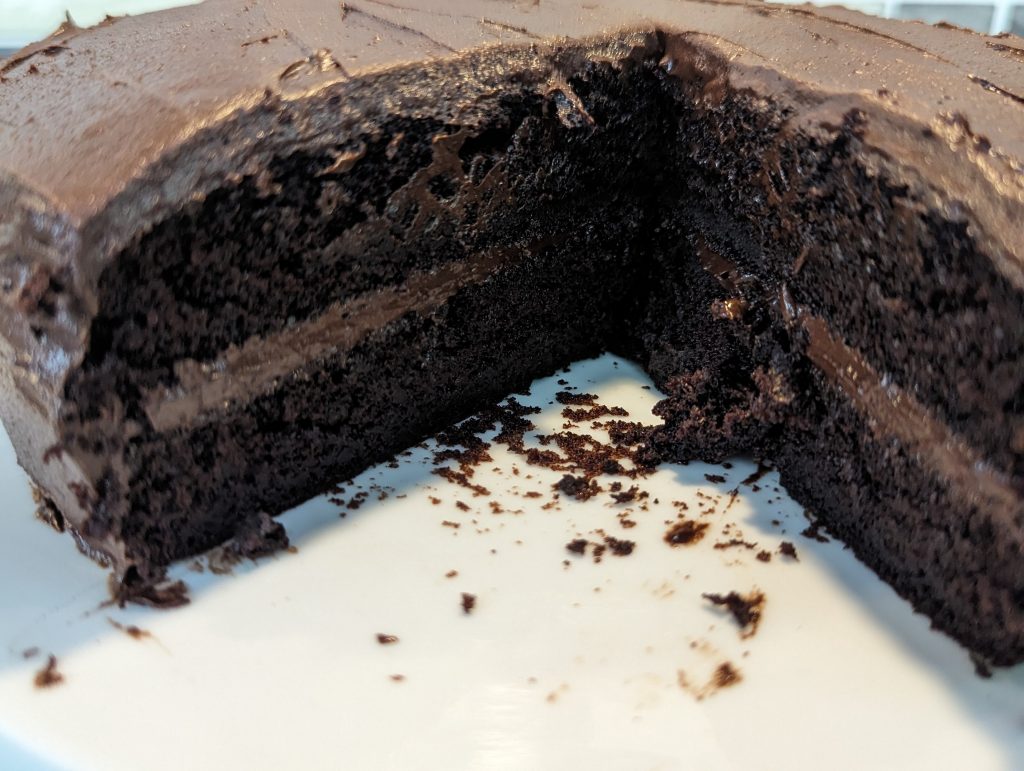
10. **Serve:** Slice the cake and serve. Enjoy your delicious homemade chocolate cake! Came out cooked in the time stated, was extremely soft. Cut out a piece once it was frosted to get a nice image and…
Dropped it on myself! *major eye roll* from me, tuts of disapproval from the side-kick and then a lot of giggling as I proceeded to lick at the frosting that had gone all over my hand, I did stop myself licking it off my top! See, self control. This was my first taste… and it was delicious.
After Baking Notes
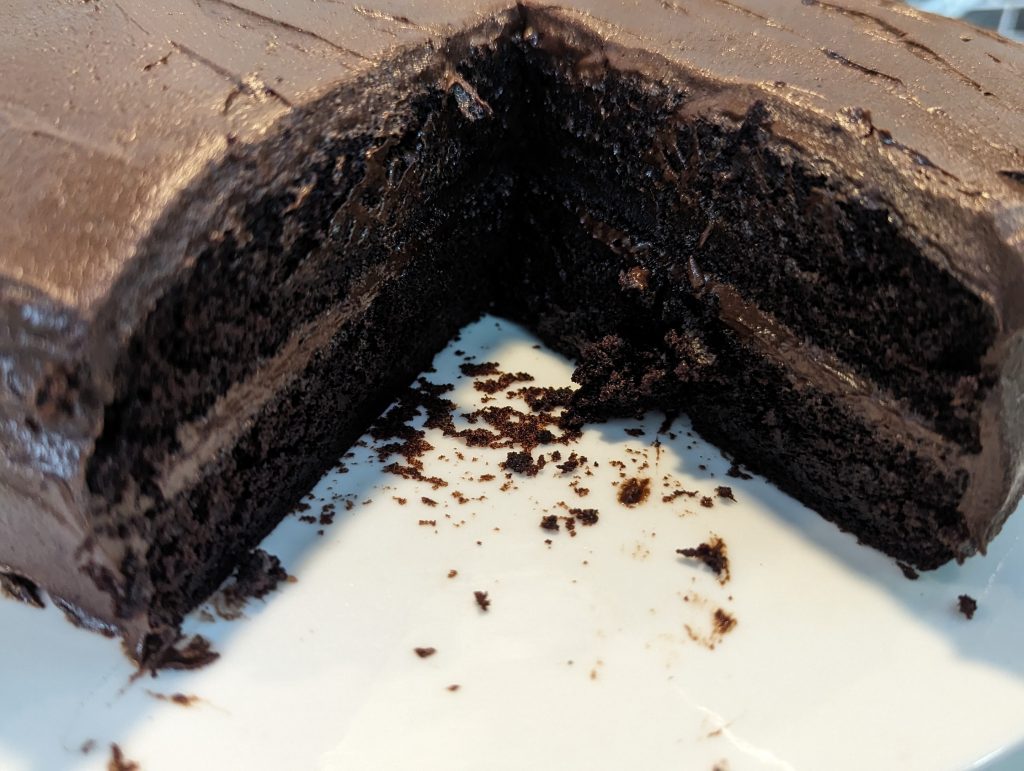
I was concerned about the water content in this. I’ve never made such a runny cake. So before wasting energy cooking it, I did a quick search to see if I could find any reason it (ChatGPT) had suggested boiling water. And apparently it IS a thing! It blooms, or brings out the flavour in the cocoa for chocolate cakes. Who knew! Aside from the notes entered above, the recipe was sound. The cake was so moist and delicious and extremely chocolaty. I’d say it has more of a brownie taste than a chocolate cake taste. Either way… it was the best chocolate cake I’ve ever had, and I made it!!!!
What You Need For The Cake
- 225g plain flour
- 200g granulated sugar
- 75g cocoa powder
- 1 and 1/2 teaspoons baking powder
- 1 and 1/2 teaspoons baking soda
- 1 teaspoon salt
- 2 large eggs, at room temperature
- 240ml milk, at room temperature
- 120ml vegetable oil
- 2 teaspoons pure vanilla extract
- 240ml boiling water
What You Need For The Chocolate Frosting
- 115g (1/2 cup) butter, softened
- 70g cocoa powder
- 375g powdered sugar
- 80ml milk
- 1 teaspoon pure vanilla extract
PRODUCTS USED IN THIS VIDEO
Mason Cash Mixing Bowl: https://amzn.to/4aQfL4p – Available in lots of sizes, we have an enormous one, but the one in the video is the 21cm (which is also not small!)
Colourful Spatula: https://amzn.to/3PYiwbV – Part of a set.
Silicone Cake “tin”: https://amzn.to/4apHhG6 – Silicone works great. I did use pizza screens to pop them on to make them easier to put in and take out of the oven.
Green Silicone Baking Mat: https://amzn.to/3vM2ZVO
Pizza Screens: https://amzn.to/4aTEBk1 – Had these several years. They work brilliantly.
Subscribe to our channel for more delicious recipes!
And be sure to check out our other channels!
Electronics for hobbyists at Hobby Components https://youtube.com/@hobbycomponents
and
Sewing & Craft videos with Supercrafts https://youtube.com/@supercrafts

